Don't take delivery of your new car before checking these parameters
- 1Check your new car thoroughly before signing the delivery papers.
- 2Follow a complete new car delivery checklist to avoid hidden issues.
- 3Verify VIN, fluids, tyres, and software during pre-delivery inspection.
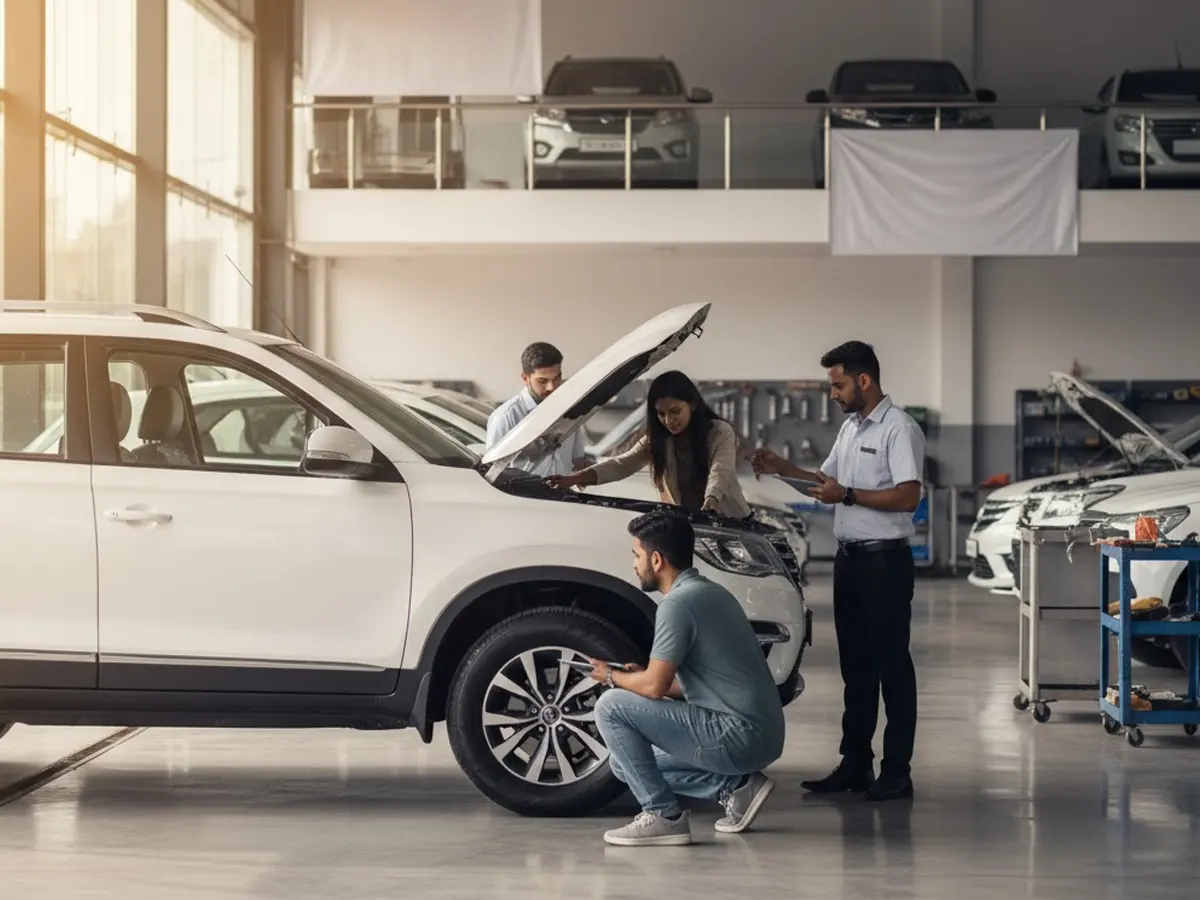
Inspection of a new car is crucial before taking it home. Doing a thorough inspection ensures the car you receive justifies the full value you paid. Car manufacturers transport thousands of vehicles each month. Some cars have to deal with a bumpy ride, are parked in a warehouse for a longer duration, or undergo rushed dealership prep. So, minor defects go unnoticed.
A structured new car delivery checklist uncovers hidden problems like a weak battery, a scratched bumper, or an outdated software version. When done by experts, PDI offers confidence in the car investment.
Step-by-Step New Car Delivery Checklist
A structured approach to new car PDI, with a checklist for new car delivery inspection, confirms that all parts of the car are thoroughly inspected. Here are the steps:
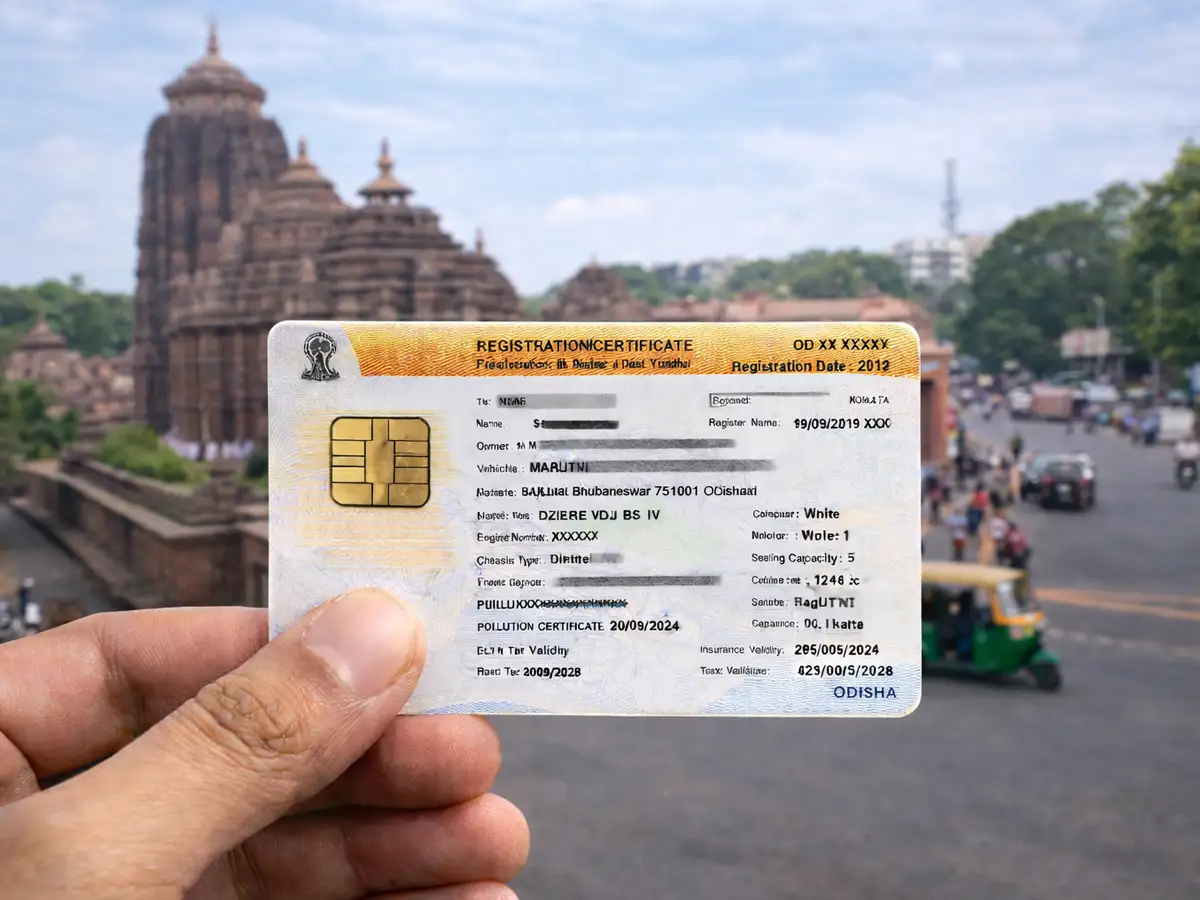
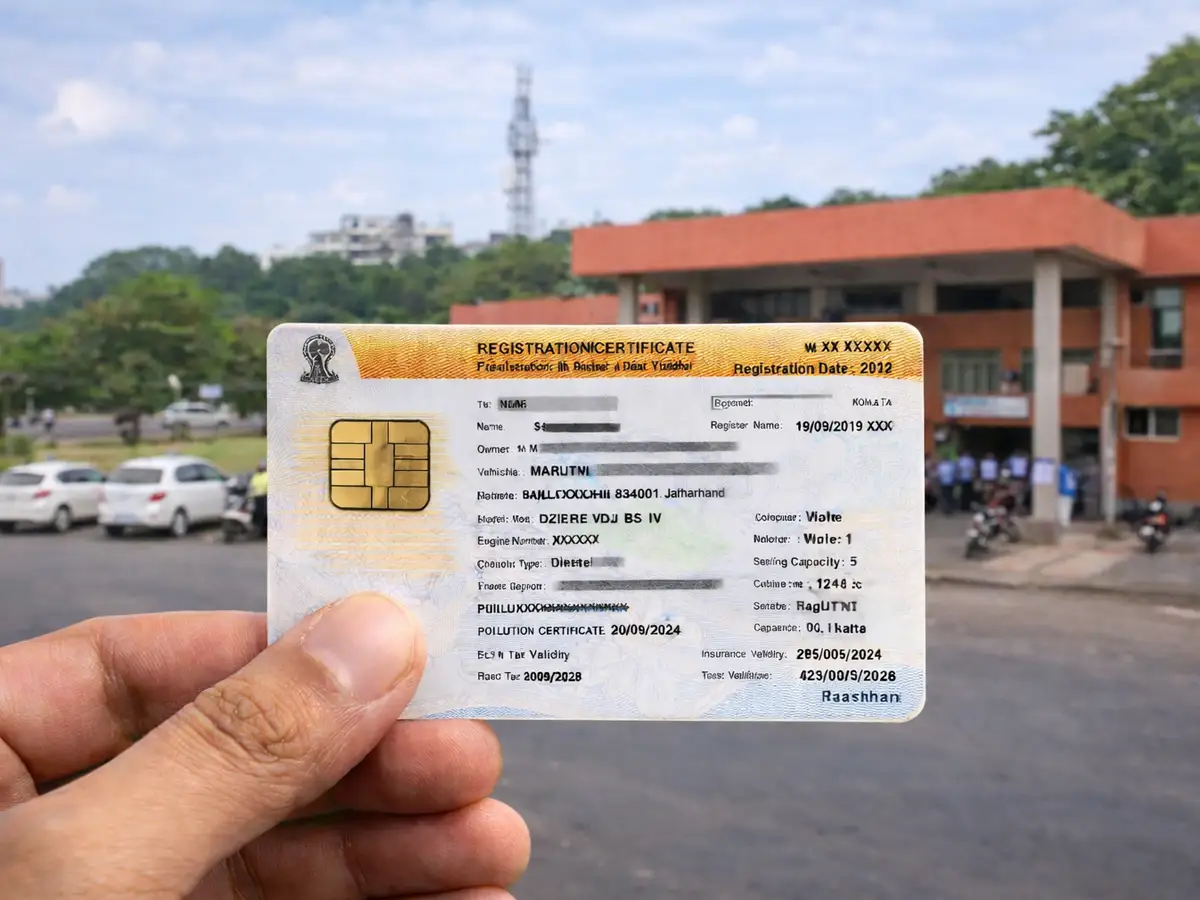
Step 1: Verify Vehicle Identity Number
Start with the VIN and confirm that the car’s VIN matches the model, variant, and VIN from your invoice. Mismatched paperwork can result in disputes during registration and warranty registration.
What to check:
- VIN: VIN is a 17-digit alphanumeric code that uniquely identifies the vehicle. This can be seen on the dashboard, door sill, or under the bonnet. Confirm that this number matches the one in the invoice and insurance papers.
- Engine Number: This is stamped on the engine block or on the manufacturer’s label. Cross-verify it against the registration documents.
- Manufacturing Date: Check the build plate, usually present on the inside of the driver-side door frame. It’s ideal if the manufacturing date doesn’t predate the booking by more than 6 months, though a minor variation is acceptable for popular models
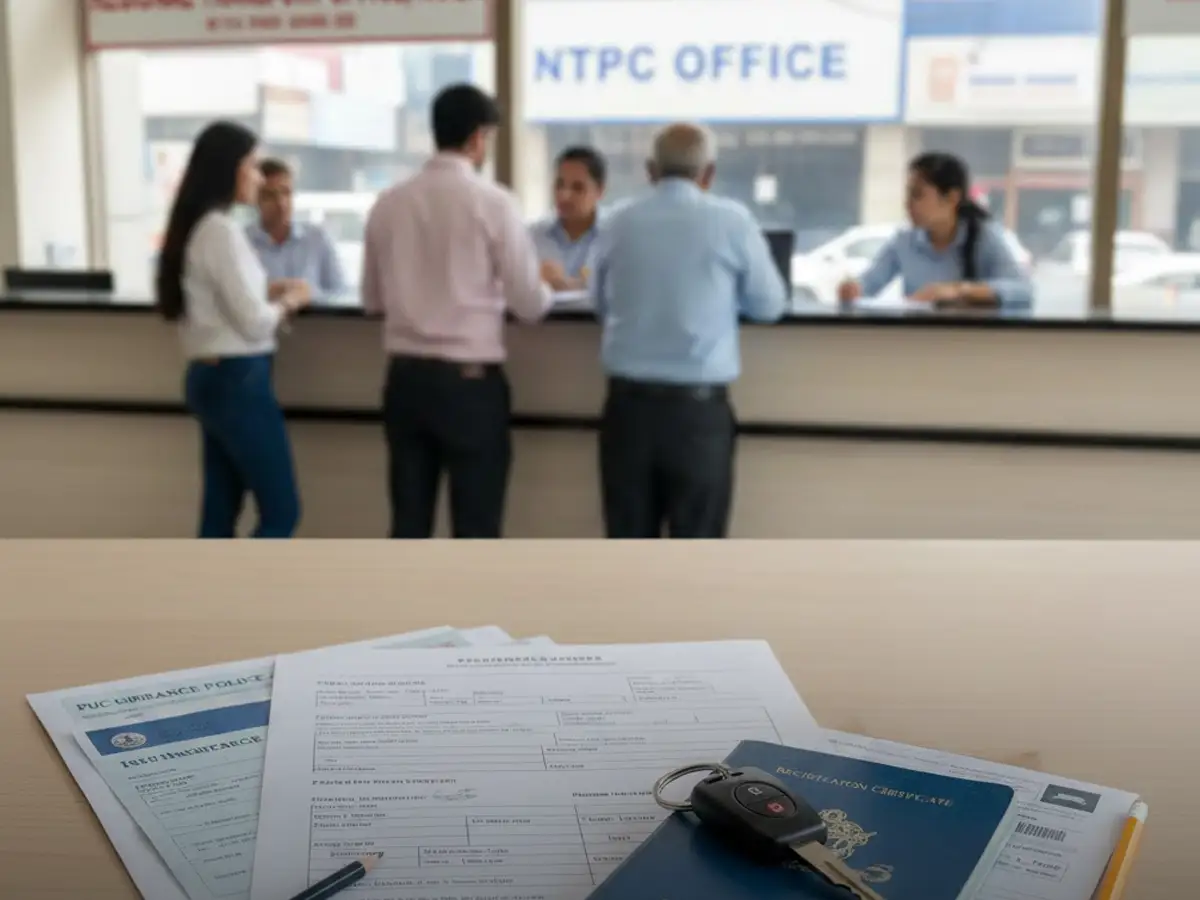
- Documents: Ensure the warranty card, service booklet, and owner’s manual are included and stamped by the dealer.
- Spare Keys: Make sure that the spare keys are programmed and functional.
Step 2: Inspect the Exterior
Usually, a visual inspection is straightforward, but sometimes the damage may be evident due to transportation or yard issues. Do a visual inspection from different angles and at a distance of approximately 3 to 4 meters.
Method of Exterior Inspection:
- Paint Consistency and Thickness: Inspect the paint and its consistency in natural light. Measuring paint thickness is preferable. Factory paint thickness typically ranges from 100–180 microns (up to 200 for premium models). Higher readings may suggest a repaint.
- Panel Gaps and Alignment: Check panel gaps between doors, boot, and bonnet. Factory gaps should be uniform.
- Tyre Brand, Size, and Age: Verify the tyre brand and size as per the invoice.
- Visual Evidence and Detailing: The DOT code on the tyre sidewall should be located, and the last four digits indicating manufacturing week/year should be noted. Ideally, tyres should be less than 6–8 months old from their manufacturing date.
- Lighting Checks: The functions of headlights, indicators, fog lamps, and brake lamps on both sides should be adequately verified.
Step 3: Examine the Interior and Cabin Features
The interiors are inspected mostly for cabin comfort by turning on the ignition without starting the engine.
Check for:
- Dashboard Lights: Observe that all indicator lamps like ABS, airbag, engine, TPMS, and so on get illuminated momentarily and then turn off in a few seconds. Any indication, which is still lit, may imply faults.
- Odometer Reading: This value on a new car should typically range between 25-100 km, which involves factory and transport testing.
- Infotainment System: Check touchscreen operations, Bluetooth pairing, navigation accuracy, and camera clarity.
- AC and Heater: Ensure they work well in cooling and heating, respectively.
- Seats and Upholstery: Inspect for cuts, stains, or loose stitching. Check power adjustments and seat height mechanisms.
- Windows: Operate each switch and lock manually as well as via central locking.
- Cabin Fit and Finish: Doors should close without any uneven gaps or rattling sound. The horn, wipers, and washer jets can be tested simultaneously. As they use a common electrical circuit, any flicker in dashboard lights may point to probable grounding issues.
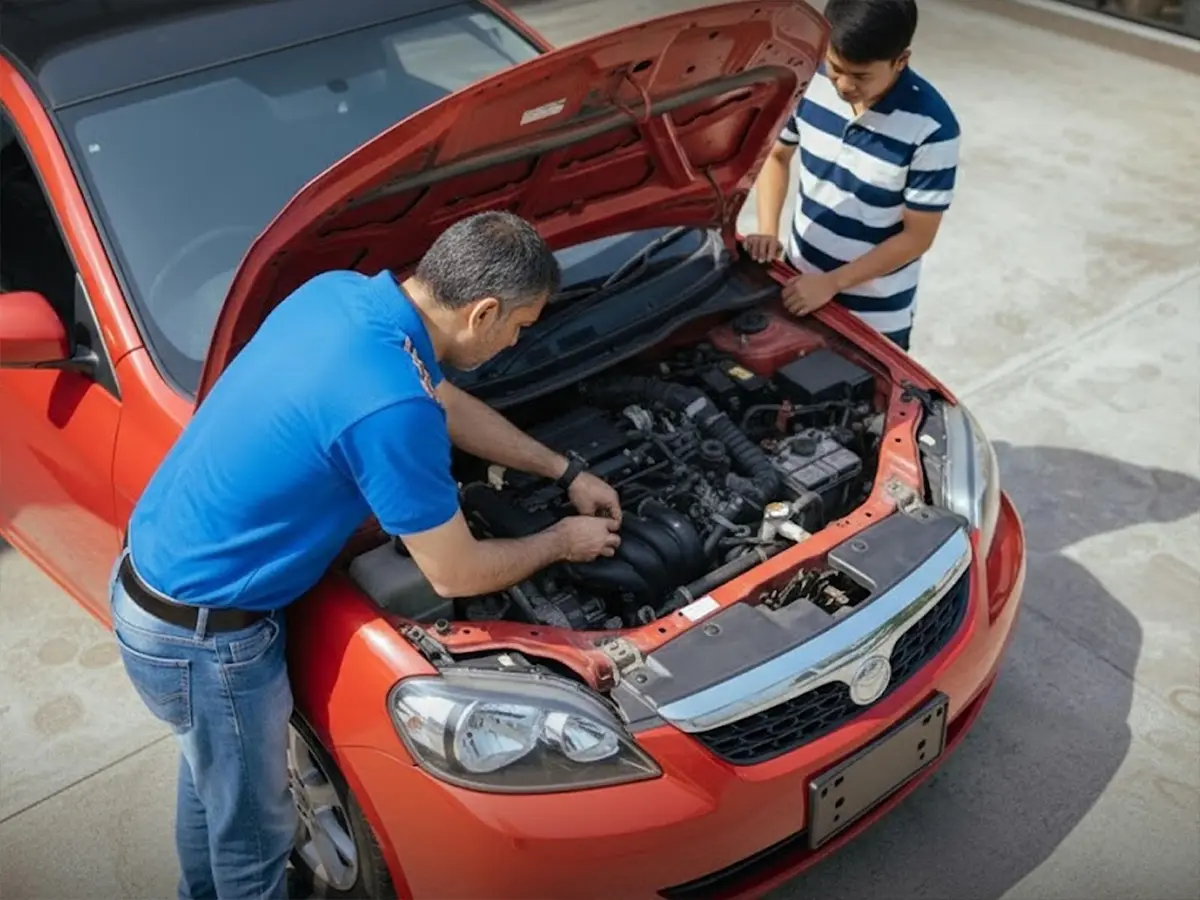
Step 4: Check Fluid Levels and Engine Bay
New cars require mechanical structure confirmations to ensure that all the systems are correctly filled and sealed. Car owners can ask a technician to show the location of the fuse boxes, coolant reservoir, and dipstick test.
Under the hood, check:
- Engine Oil: Use the dipstick to check the oil level. It should be near MAX. Check the colour and see if it’s amber or golden and not dark brown.
- Coolant: Coolant level should be between the MIN and MAX marks. Coolant colour varies by brand, as it can be pink, green, etc, but should always be bright and non-cloudy
- Brake Fluid: Contaminated fluid looks brownish. Verify that the brake fluid colour is pale yellow in colour and above the minimum level.
- Washer Fluid: It should be filled adequately for test sprays.
- Battery Voltage: A healthy 12V battery should show 12.6 V or higher when the car is off.
- Leaks: Look for wet or greasy patches around engine joints, radiator hoses, or underbody.
Step 5: Inspect Tyres, Brakes, and Suspension
Tyres and braking systems have a tremendous influence on the driving experience. However, test drives merely give the car owner a feel of the car; there are other things that need detailed inspection.
Technical checks include:
- Tyre age: Check the manufacturing date via the DOT code and ensure that tyres are not older than 6 months.
- Tyre pressure: Should match the label inside the fuel cap door frame. Usually, it is between 30-35 PSI for an Indian car.
- Brake pedal: In a new car, there should be a firm feel in the brake pedal upon pressing.
- Disc and pad inspection: Look for shine and uniformity in the discs without grooves; pads on a new car should have at least 8 mm of thickness; 5 mm or less indicates prior use or transport damage.
- Suspension: Do a bounce test by pressing a corner of the car and letting go; it should bounce up once and settle immediately.
- Underbody: Inspect undercarriage for any rust, bent brackets or scrape marks with the aid of a flashlight.
Step 6: Software & System Check
The software controlling all systems in modern cars must be up to date. An outdated piece of software may cause havoc, anywhere from hampering fuel efficiency to totally jeopardising the working of safety systems.
- Software and Firmware Updates: Ask the dealer to ensure the system has the latest OTA update installed or verify this via the infotainment settings.
- ADAS Feature Checks: If your car has ADAS (lane keep assist, adaptive cruise, etc.), request a calibration confirmation before delivery
- Smartphone Connectivity Test: Pair the smartphone via the official app to assess connectivity.
- Display and Camera Feed Quality: Ensure no distortion or lag is observed during the display for rear, 360°, and any other camera feeds.
- Battery and Idle Start-Stop Functionality: Check for battery management and verification of the idle start-stop system working.
Step 7: Short Test Drive Before Acceptance
A short supervised drive covering about 2 to 3 kilometres can reveal the alignment and calibration issues.
Check whether
- Steering Alignment and Balance: Steering naturally re-centres itself after a turn and feels well-balanced without being one-sided.
- Brake Performance: Braking leads to a non-vibrating stop.
- Gear Shifting Smoothness: Shifting gears is smooth with no jerk.
- Engine Idle Stability: The engine is in a stable idling state at 700-900 RPM and has no excessive vibration.
- Air Conditioning Impact: In ICE cars, AC load slightly raises idle RPM; in hybrids and EVs, this may not occur due to electric compressors.
- Noise and Vibration Check: No rattling noises or squeaks when approaching little bumps.
Conclusion
Usually, a new car delivery inspection takes about 30-45 minutes. However, it helps save service visits in future. It ascertains that all aspects of the new car, mechanical, electrical, and digital, are working as intended. Confirming the authenticity and building integrity of a car at the time of delivery helps avoid warranty disputes that may arise from undetected defects.
Frequently Asked Questions
Expand all