How to Verify Accident Repairs During a Used Car PDI
- 1Spot hidden accident repairs with a detailed used car PDI.
- 2Use OBD scans and paint gauges to check for prior damage.
- 3Verify records and service history before finalising the car.
When buying a used car, you also inherit its history. The biggest risk is undisclosed repairs that can affect safety, performance, and resale value. This is where a Pre-Delivery Inspection (PDI) helps identify repairs that may otherwise remain hidden.
A ssed car PDI helps owners make smarter purchase decisions by revealing the true condition of the vehicle. Even if the original car owners promise that the car has never been in an accident, the pre-delivery inspection can uncover previous repairs or damage
After the purchase, the cost of any hidden repair falls on the new owner. While knowing about previous repairs doesn’t directly propel you to walk out of the deal, having an understanding of the potential cost of repairs does help you negotiate a fair price.. Let’s explore the crucial steps to identify vehicle repairs with PDI.
How Does PDI Help Identify Vehicle Repairs?
A pre-delivery inspection (PDI) is a thorough check that goes beyond checking any visible damage.. It gives insight into prior accident repairs, structural issues, panel replacements, welding marks, and more that car buyers aren’t generally completely aware of.
Identify vehicle repairs with a trusted used car inspection service to reduce the chances of bearing large future repair bills or safety risks.
Common Signs of Accidental Repairs to Watch For
Some of the common red flags to look for during a PDI to identify vehicle repairs are:
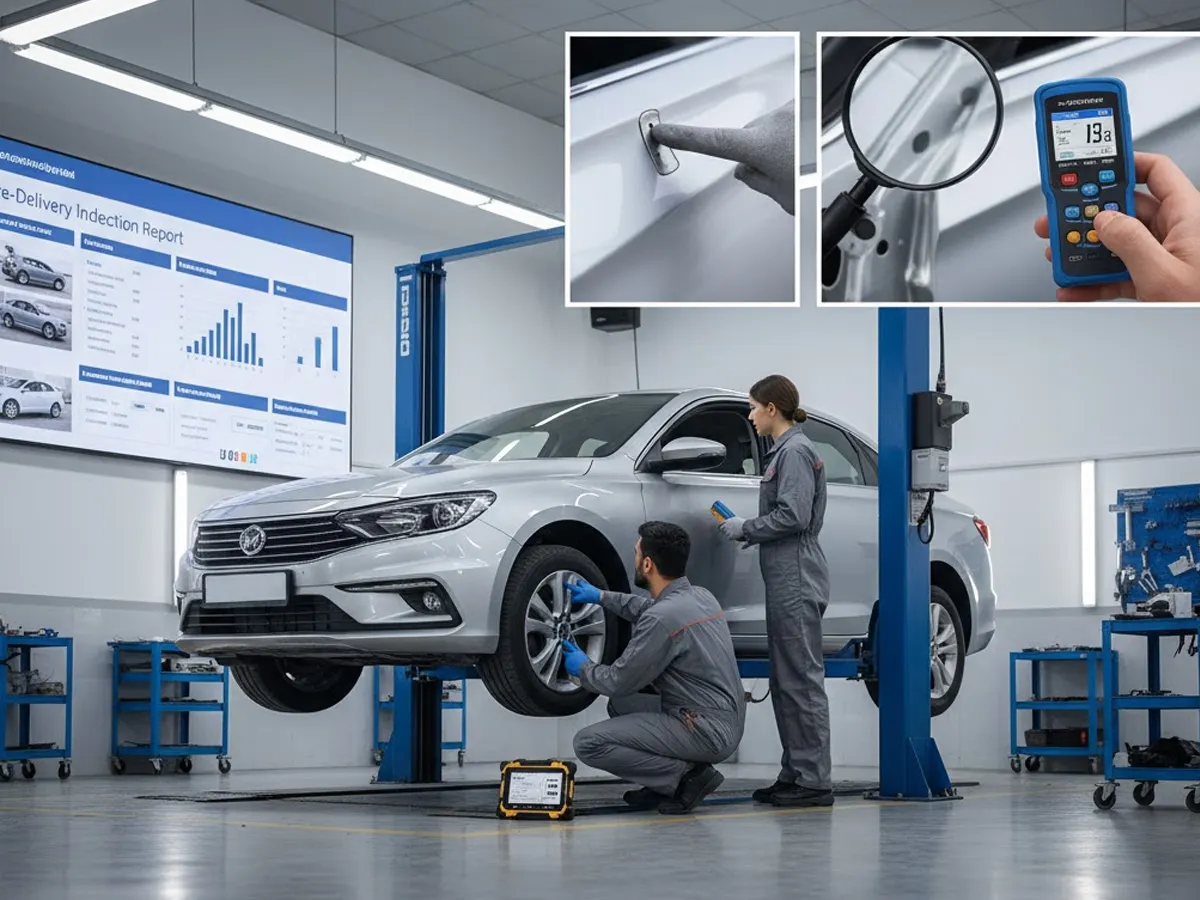
Paint and Bodywork Irregularities
When a vehicle has been in a collision, repairs often leave behind physical signs.
- Check for inconsistencies in paint colour or texture between panels.
- Run your hand along panel edges, as repainted areas often feel rough or uneven.
- Inspect panel gaps. If there is a mismatched gap between the hood and fenders or doors and body, it may indicate structural repairs or replaced frame parts.
- Look for paint overspray on trim, glass, or rubber seals.
Frame and Structural Clues
Frame or unibody damage is one of the most serious repair areas.
- Look for excessive weld marks or fresh underbody coating near frame rails (especially around suspension mounts or crash-absorbing zones).
- Inspect the mounting parts where strut towers, firewall, and inner fenders connect to the body. Uneven welding here could point to repairs.
- Uneven tyre wear, pulling to one side during driving, or a sense of instability while driving are some of the symptoms of frame misalignment after an accident.
Mechanical and Safety System Indicators
Even when the bodywork of a used car appears clean, underlying mechanical or safety system issues may reveal past accident repairs.
- Check if the steering pulls to one side even with the correct tyre pressure, as it may be due to alignment issues.
- Inspect the airbag warning light to see if it stays on, flickers, or resets erratically, which can point to airbag deployment and post-accident repair.
- Ask for airbag modules and sensor replacement records.
- Look for bolts or fasteners around doors, fenders, or bumpers that appear newer or a different colour or shape.
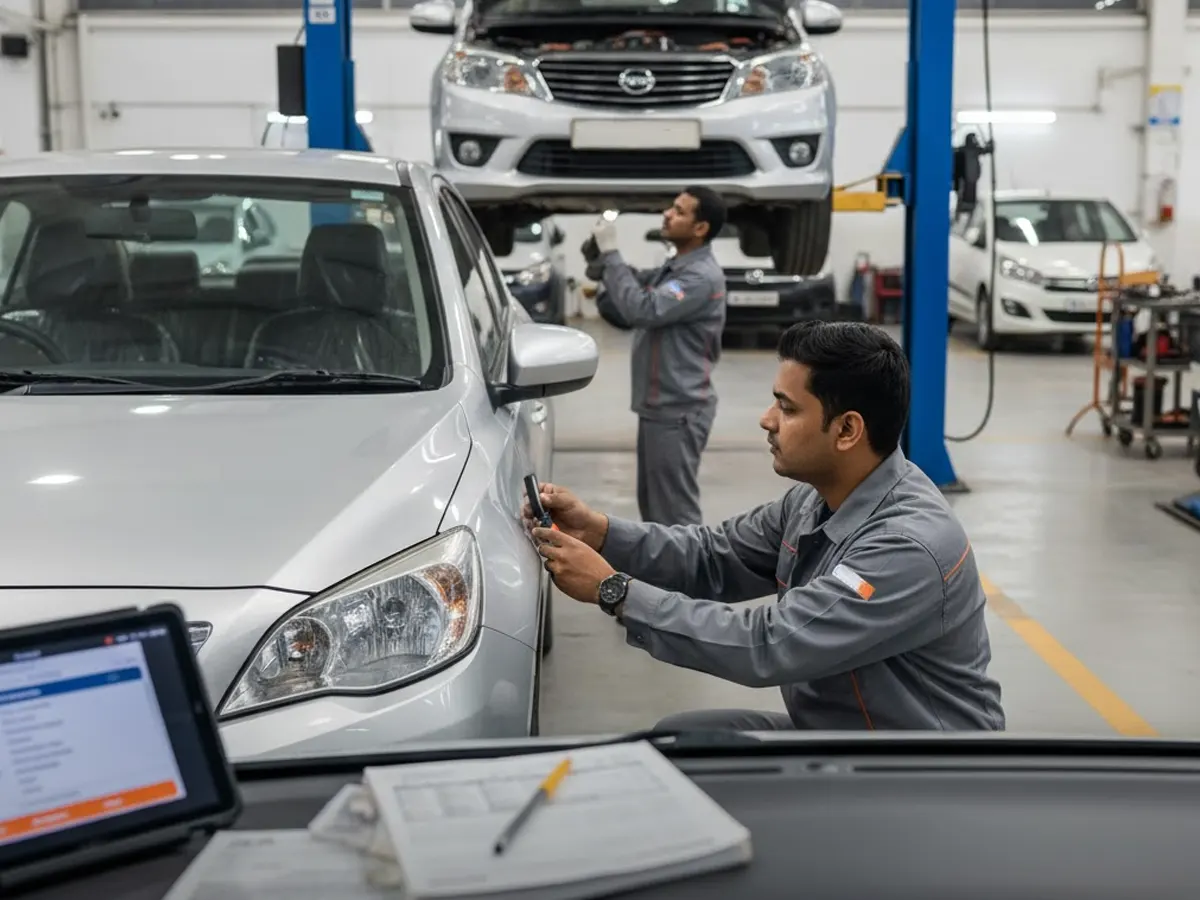
Step-by-Step Used Car Inspection Checklist
Below is a practical used car inspection checklist and used car PDI process:
Step 1: Exterior check
- Inspect all bumpers, fenders, and panel seams for repaint, mismatch, or dents.
- Check glass surfaces for cracks, replaced glass pieces, or inconsistent etching.
- Use a flashlight in the evening to spot paint overspray on rubber seals.
Step 2: Underbody and Frame
- Use a flashlight and look under the car for fresh welds or recent spray-coating.
- Check for visible bends, distortions, or misaligned frame sections.
- Inspect suspension mounting points and alignment components for damage, replacement parts, or uneven wear.
Step 3: Engine Bay
- Inspect bolts and fasteners. Mismatched shape, colour, or auxiliary bolts may indicate replacement.
- Check for all service stamps, including battery dates, belts, and hose replacements.
Step 4: Cabin and Dashboard
- Check airbag covers for replacement signs, scratches or misalignment.
- Verify whether the seat belts retract smoothly.
- Test infotainment and safety sensors; glitching or random resets may indicate earlier electrical or impact damage
Step 5: Test Drive Indicators
- Drive on a straight road and look for car drifts or if the steering doesn’t centre properly.
- Brake heavily and see if the car pulls or vibrates.
- Inspect rotors and brake mounts.
- Listen for clunks, rattles, or suspension noises, and note any uneven ride or excessive body roll.
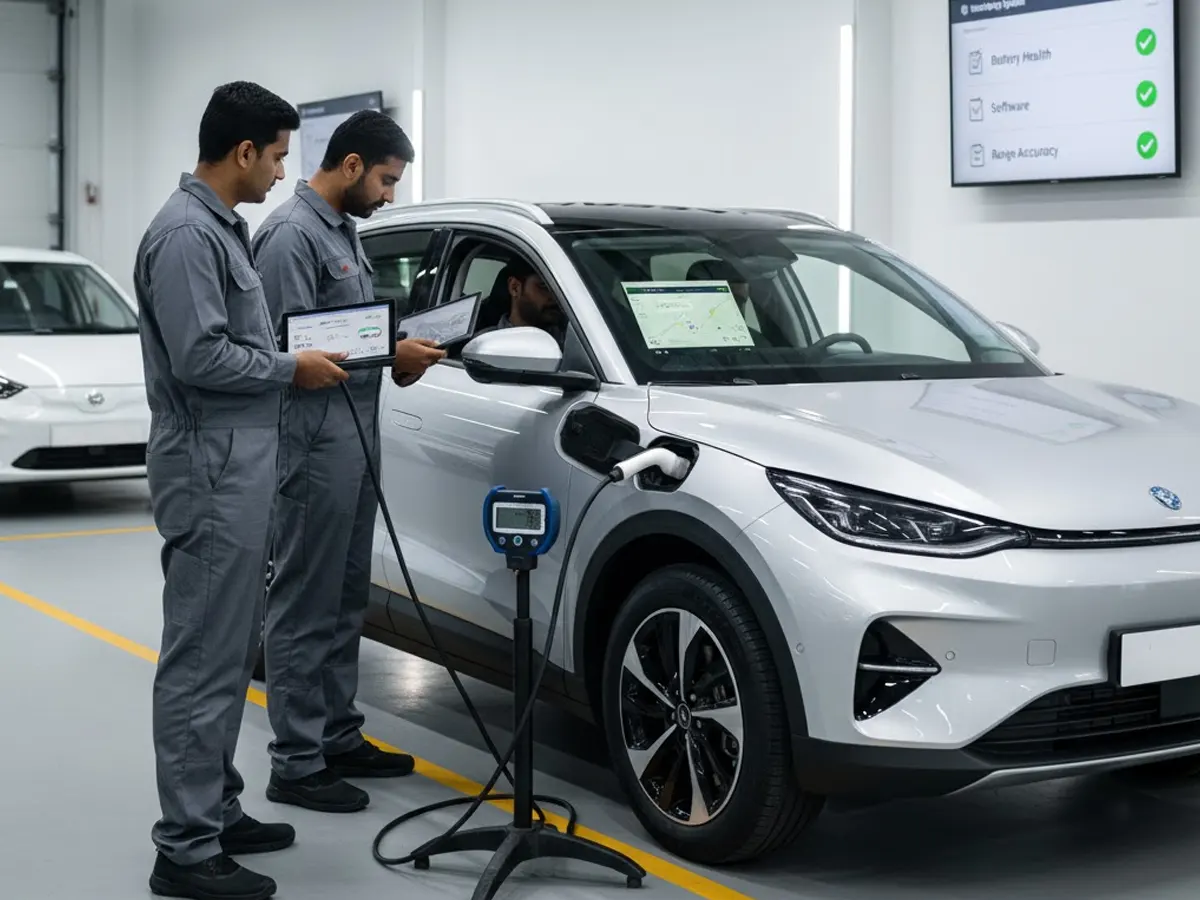
Which Tools and Techniques are Useful to Verify Hidden Repairs
Some accident repairs may be hidden beneath the paint, inside the frame, or within electronic systems. Checking these involves using the right tools to identify vehicle repairs with PDI.
- Paint thickness gauge: It measures the coating depth on each panel in microns. Factory-painted panels typically have 90-150 µm, but repaired or replaced ones can show 200–300 µm.
- On-Board Diagnostic Scanner: In modern vehicles, crash-related fault codes can be found in their ECU (Engine Control Unit). An OBD scanner helps detect hidden error codes related to airbag deployments, sensor replacements, ECU resets, and more.
Documentation Check to Match Records with Physical Checks
Paperwork tells a story that a car doesn’t. Comparing car documents with physical inspection provides details on undisclosed accidents.
- Insurance and claim records: Request insurance claim history for the vehicle through the insurance provider or authorised platforms that can access claims databases. Frequent claims for bodywork or front-end damage indicate accident history.
- Service records and dealer invoices: Ask for the service book or dealer-stamped history. Missing entries or gaps could mean repairs were carried out outside authorised dealership centres. Review invoices for replaced panels, bumpers, or airbags, which can be red flags indicating an accident repair.
- RC and VIN verification: Verify that the registration certificate (RC) matches the chassis and engine numbers of the vehicle. If the RC or VIN plate appears tampered, replaced, or mismatched, it’s an indication that major structural repair has happened. Government portals like Parivahan.gov.in can be used to verify authenticity and ownership details.
Conclusion
Accident repair verification is an essential step in responsible car ownership. A used car may look good, but only a thorough inspection reveals how safe and structurally sound it truly is. The used car inspection checklist can give an overall idea of what needs to be checked to identify vehicle repairs with PDI. A smart inspection today prevents costly surprise expenses tomorrow.
By using the CARS24 used car PDI process, you can protect your investment, ensure safety, and maintain the car’s long-term value.
Frequently Asked Questions
Expand all